在
vue中数据流是单向的,通常父子组件通信props或者自定义事件,或者还有provide/inject,甚至借助第三方数据流方案vuex,在通常的项目中我们会高频用到哪些通信方案?
本文是笔者总结过往项目,在vue使用到的一些数据通信方案,希望在实际项目中有些帮助和思考。
正文开始...
我们先看下在vue中我能想到的数据通信方案
1、props父传子
2、自定义事件@event="query"
3、.sync修饰符
3、vuex跨组件通信
4、Vue.observable
5、provide/inject
6、EventBus
7、$refs、$parent
基于以上几点,笔者用一个实际的todolist来举证所有的通信方式
props 父组件传递子组件数据的接口通信
// todoList.vue
<template>
  <div class="todo-list">
    <h1>todo list</h1>
    <Search />
    <content :dataList="dataList" />
  </div>
</template>

<script>
  import Search from './Search.vue';
  import Content from './Content.vue';
  export default {
    name: 'todo-list',
    components: { Search, Content },
    data() {
      return {
        dataList: [
          {
            title: 'vuejs',
            subTitle: 'vuejs is crazy'
          },
          {
            title: 'reactjs',
            subTitle: 'reactjs is beautify'
          }
        ]
      };
    },
    methods: {}
  };
</script>
父组件以Index.vue为例,传入的子组件Content.vue的props就是:dataList="dataList"在Content.vue中我们可以看到就是通过props上的dataList获取父组件数据的。
<!--Content.vue-->
<template>
  <div class="content">
    <template v-for="(item, index) in dataList">
      <h1 :key="index">{{item.title}}</h1>
      <h2 :key="item.subTitle">{{item.subTitle}}</h2>
    </template>
  </div>
</template>

<script>
  export default {
    props: {
      dataList: {
        type: Array,
        default: () => []
      }
    }
  };
</script>
子组件数据通过父组件传递,页面数据就显示出来了 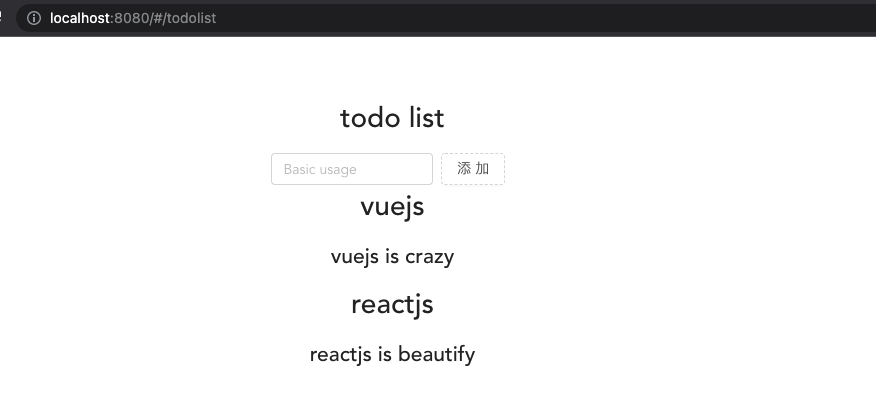
自定义事件 emit 通信
...
<div class="todo-list">
  <h1>todo list</h1>
  <Search @handleAdd="handleAdd" />
  <content :dataList="dataList" />
</div>
<script>
  export default {
    name: 'todo-list',
    methods: {
      handleAdd(params) {
        this.dataList.push(params);
      }
    }
  };
</script>
我们看到在父组件中加入了@handleAdd自定义事件
在Search.vue中我们引入对应逻辑
<!--Search.vue-->
<div class="search">
  <a-row type="flex" justify="center">
    <a-col :span="4">
      <a-input placeholder="Basic usage" v-model="value" @pressEnter="handleAdd"></a-input>
    </a-col>
    <a-col :span="2">
      <a-button type="dashed" @click="handleAdd">添加</a-button>
    </a-col>
  </a-row>
</div>
// Search.vue
export default {
  name: 'search',
  data() {
    return {
      value: '',
      odd: 0
    };
  },
  methods: {
    handleAdd() {
      const { value: title } = this;
      if (title === '') {
        return;
      }
      this.odd = !this.odd;
      this.$emit('handleAdd', {
        title,
        subTitle: `${title} is ${this.odd ? 'crazy' : 'beautify'}`
      });
    }
  }
};
我们可以看到自定义事件子组件中就是这么给父组件通信的
...
this.$emit('handleAdd', {
        title,
        subTitle: `${title} is ${this.odd ? 'crazy' : 'beautify'}`
})
.sync 实现 props 的双向数据通信
在 vue 中提供了.sync修饰符,本质上就是便捷处理props单向数据流,因为有时候我们想直接在子组件中修改props,但是vue中是会警告的,如果实现props类似的双向数据绑定,那么可以借用.sync修饰符,这点项目里设计弹框时经常有用。
同样是上面todolist的例子
<template>
  <div class="todo-list">
    <h1>todo list-sync</h1>
    <Search :dataList.sync="dataList" />
    <content :dataList="dataList" />
  </div>
</template>
<script>
  import Search from './Search.vue';
  import Content from './Content.vue';
  export default {
    name: 'todo-list',
    components: { Search, Content },
    data() {
      return {
        dataList: [
          {
            title: 'vuejs',
            subTitle: 'vuejs is crazy'
          },
          {
            title: 'reactjs',
            subTitle: 'reactjs is beautify'
          }
        ]
      };
    }
  };
</script>
我们在看下Search.vue已经通过:dataList.sync="dataList"在props上加了修饰符了
在Search.vue中可以看到
...
<script>
  export default {
    name: 'search',
    props: {
      dataList: {
        type: Array,
        default: () => []
      }
    },
    data() {
      return {
        value: '',
        odd: 0
      };
    },
    methods: {
      handleAdd() {
        const { value: title, dataList } = this;
        if (title === '') {
          return;
        }
        this.odd = !this.odd;
        const item = {
          title,
          subTitle: `${title} is ${this.odd ? 'crazy' : 'beautify'}`
        };
        this.$emit('update:dataList', dataList.concat(item));
      }
    }
  };
</script>
注意我们在handleAdd方法中修改了我们是用以下这种方式去与父组件通信的,this.$emit('update:dataList', dataList.concat(item))。
...
const {value: title, dataList } = this;
const item = {
        title,
        subTitle: `${title} is ${this.odd ? 'crazy' : 'beautify'}`
}
this.$emit('update:dataList', dataList.concat(item))
sync本质也是利用自定义事件通信,上面代码就是下面的简版,我们可以利用.sync修饰符实现props的双向数据绑定,因此在实际项目中可以用.sync修饰符简化业务代码,实际与下面代码等价
<Search :dataList="dataList" @update="update" />
vuex
vuex在具体业务中基本上都有用,我们看下vuex是如何实现数据通信的,关于vuex如何使用参考官方文档,这里不讲如何使用 vuex,贴上关键代码
// store/index.js
import Vue from 'vue';
import Vuex from 'vuex';

Vue.use(Vuex);

const state = {
  dataList: [
    {
      title: 'vuejs',
      subTitle: 'vuejs is crazy'
    },
    {
      title: 'reactjs',
      subTitle: 'reactjs is beautify'
    }
  ]
};
const mutations = {
  handAdd(state, payload) {
    state.dataList = state.dataList.concat(payload);
  }
};
export const store = new Vuex.Store({
  state,
  mutations
});
然后在main.js中引入
// main.js
...
import {store} from '@/store/index';
...
/* eslint-disable no-new */
new Vue({
  el: '#app',
  store,
  router,
  components: { App },
  template: '<App/>'
})
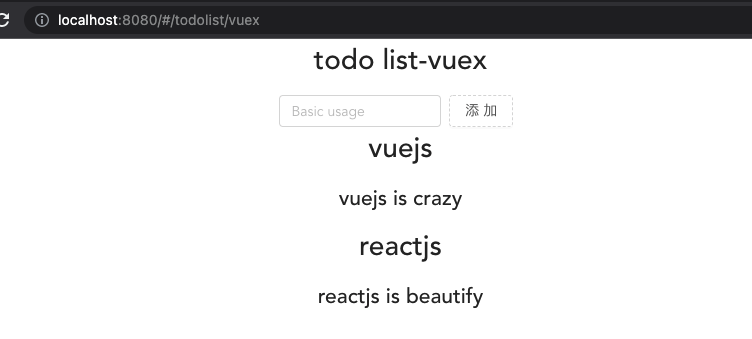
我们看下主页面路由页面,现在变成这样了,父组件没有任何props与自定义事件,非常的干净。
<template>
  <div class="todo-list">
    <h1>todo list-vuex</h1>
    <Search />
    <content />
  </div>
</template>
<script>
  import Search from './Search.vue';
  import Content from './Content.vue';
  export default {
    name: 'todo-list',
    components: { Search, Content }
  };
</script>
然后看下Search.vue与Content.vue组件
<!--Search.vue-->
<template>
  <div class="search">
    <a-row type="flex" justify="center">
      <a-col :span="4">
        <a-input placeholder="Basic usage" v-model="value" @pressEnter="handleAdd"></a-input>
      </a-col>
      <a-col :span="2">
        <a-button type="dashed" @click="handleAdd">添加</a-button>
      </a-col>
    </a-row>
  </div>
</template>
<script>
  export default {
    name: 'search',
    data() {
      return {
        value: '',
        odd: 0
      };
    },
    methods: {
      handleAdd() {
        const { value: title } = this;
        if (title === '') {
          return;
        }
        this.odd = !this.odd;
        const item = {
          title,
          subTitle: `${title} is ${this.odd ? 'crazy' : 'beautify'}`
        };
        this.$store.commit('handAdd', item);
      }
    }
  };
</script>
你会发现操作数据是用$store.commit('mutationName', data)这个vuex提供的同步操作去修改数据的。 在Content.vue中就是直接从store中获取state就行了
<template>
  <div class="content">
    <template v-for="(item, index) in dataList">
      <h1 :key="index">{{item.title}}</h1>
      <h2 :key="item.subTitle">{{item.subTitle}}</h2>
    </template>
  </div>
</template>

<script>
  export default {
    computed: {
      dataList() {
        return this.$store.state.dataList;
      }
    }
  };
</script>
vuex的思想就是数据存储的一个仓库,数据共享,本质 store 也是一个单例模式,所有的状态数据以及事件挂载根实例上,然后所有组件都能访问和操作,但是貌似这么简单的功能引入一个状态管理工具貌似有点杀鸡用牛刀了,接下来我们用官方提供的跨组件方案。
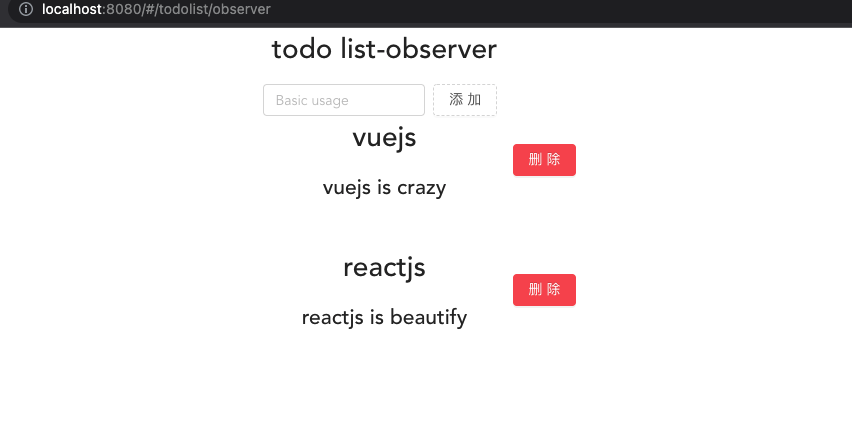
Vue.observable
vue 提供一个这样的一个最小跨组件通信方案,我们具体来看下,新建一个目录todoList-obsever/store/index.js,我们会借鉴vuex的一些思想,具体代码如下
// store/index.js
import Vue from 'vue';
const state = {
  dataList: [
    {
      title: 'vuejs',
      subTitle: 'vuejs is crazy'
    },
    {
      title: 'reactjs',
      subTitle: 'reactjs is beautify'
    }
  ],
  commit: {
    handAdd: (payload) => {
      state.dataList = state.dataList.concat(payload);
    },
    handleDelete(index) {
      state.dataList.splice(index, 1);
    }
  }
};
const mutations = {
  commit(actionName, payload) {
    if (Reflect.has(state.commit, actionName)) {
      state.commit[actionName](payload);
    }
  },
  dispatch(actionName, payload) {
    mutations.commit(actionName, payload);
  }
};
const store = {
  state,
  ...mutations
};
export default Vue.observable(store);
然后在Content.vue中
<template>
  <div class="content">
    <template v-for="(item, index) in dataList">
      <div :key="index" class="list">
        <h1 :key="index">{{ item.title }}</h1>
        <h2 :key="item.subTitle">{{ item.subTitle }}</h2>
        <a-button type="danger" class="del" :key="`${index}-${item.title}`" @click="handleDelete(index)">删除</a-button>
      </div>
    </template>
  </div>
</template>
<script>
  // 引入上面的store
  import store from './store/index';
  export default {
    computed: {
      dataList() {
        return store.state.dataList;
      }
    },
    methods: {
      handleDelete(index) {
        store.commit('handleDelete', index);
      }
    }
  };
</script>
<style lang="scss">
  .list {
    .del {
      position: relative;
      top: -70px;
      left: 160px;
    }
  }
</style>
在Search.vue中
<template>
  <div class="search">
    <a-row type="flex" justify="center">
      <a-col :span="4">
        <a-input placeholder="Basic usage" v-model="value" @pressEnter="handleAdd"></a-input>
      </a-col>
      <a-col :span="2">
        <a-button type="dashed" @click="handleAdd">添加</a-button>
      </a-col>
    </a-row>
  </div>
</template>

<script>
  // 引入store
  import store from './store/index';
  export default {
    name: 'search',
    data() {
      return {
        value: '',
        odd: 0
      };
    },
    methods: {
      handleAdd() {
        const { value: title } = this;
        if (title === '') {
          return;
        }
        this.odd = !this.odd;
        const item = {
          title,
          subTitle: `${title} is ${this.odd ? 'crazy' : 'beautify'}`
        };
        store.commit('handAdd', item);
      }
    }
  };
</script>
ok 这种方式算是代替vuex的一种解决方案,是不是比vuex更简单呢,而且不用引入任何第三方库,因此在你的业务代码中可以用此来优化部分跨组件的数据通信。
provide / inject
这是一个父组件可以向子孙组件透传数据的一个属性,也就是意味着在所有子孙组件,能拿到父组件provide提供的数据,具体可以看下下面例子
<template>
  <div class="todo-list">
    <h1>todo list-provide</h1>
    <Search @handleAdd="handleAdd" />
    <content />
  </div>
</template>

<script>
  import Search from './Search.vue';
  import Content from './Content.vue';
  export default {
    name: 'todo-list',
    components: { Search, Content },
    data() {
      return {
        dataList: [
          {
            title: 'vuejs',
            subTitle: 'vuejs is crazy'
          },
          {
            title: 'reactjs',
            subTitle: 'reactjs is beautify'
          }
        ]
      };
    },
    provide() {
      return {
        newDataList: this.dataList
      };
    },
    methods: {
      handleAdd(params) {
        this.dataList.push(params);
      }
    }
  };
</script>
我们在Content.vue组件中发现
<template>
  <div class="content">
    <template v-for="(item, index) in newDataList">
      <h1 :key="index">{{item.title}}</h1>
      <h2 :key="item.subTitle">{{item.subTitle}}</h2>
    </template>
  </div>
</template>

<script>
  export default {
    inject: ['newDataList']
  };
</script>
子组件就用inject: ['newDataList']来接收数据了。注意一点inject一定是要与provide组合使用,且必须是在父子组件,或者父孙,或者更深层的子组件中使用inject。
EventBus 总线事件
这种方式平时业务上也会有用得到,特别是在表单验证中就会有
// utils/eventBus.js

export default class EventBus {
  constructor() {
    this.events = {};
  }
  on(name, fn) {
    if (!this.events[name]) {
      this.events[name] = [];
    }
    this.events[name].push(fn);
  }
  emit(name, ...payload) {
    this.events[name].forEach((v) => {
      Reflect.apply(v, this, payload); // 执行回调函数
    });
  }
}
在mian.js中挂载到prototype上
// The Vue build version to load with the `import` command
// (runtime-only or standalone) has been set in webpack.base.conf with an alias.
import Vue from 'vue';
import Antd from 'ant-design-vue';
import 'ant-design-vue/dist/antd.css';
import eventBus from '@/utils/eventBus';
import { store } from '@/store/index';
import App from './App';
import router from './router';
Vue.config.productionTip = false;
Vue.use(Antd);

/* eslint-disable no-new */
Vue.prototype.$my_event = new eventBus();
new Vue({
  el: '#app',
  store,
  router,
  components: { App },
  template: '<App/>'
});
然后在具体路由上我们看下
<template>
  <div class="todo-list">
    <h1>todo list-event-bus</h1>
    <Search />
    <content :dataList="dataList" />
  </div>
</template>

<script>
  import Search from './Search.vue';
  import Content from './Content.vue';

  export default {
    name: 'todo-list',
    components: { Search, Content },
    data() {
      return {
        dataList: [
          {
            title: 'vuejs',
            subTitle: 'vuejs is crazy'
          },
          {
            title: 'reactjs',
            subTitle: 'reactjs is beautify'
          }
        ]
      };
    },
    created() {
      // 添加事件
      this.$my_event.on('handleAdd', (payload) => {
        this.dataList.push(payload);
      });
    }
  };
</script>
在Search.vue中我们可以看到,我们是用 this.$my_event.emit去触发事件的
<template>
  <div class="search">
    <a-row type="flex" justify="center">
      <a-col :span="4">
        <a-input placeholder="Basic usage" v-model="value" @pressEnter="handleAdd"></a-input>
      </a-col>
      <a-col :span="2">
        <a-button type="dashed" @click="handleAdd">添加</a-button>
      </a-col>
    </a-row>
  </div>
</template>
<script>
  export default {
    name: 'search',
    data() {
      return {
        value: '',
        odd: 0
      };
    },
    methods: {
      handleAdd() {
        const { value: title } = this;
        if (title === '') {
          return;
        }
        this.odd = !this.odd;
        this.$my_event.emit('handleAdd', { title, subTitle: `${title} is ${this.odd ? 'crazy' : 'beautify'}` });
      }
    }
  };
</script>
<style></style>
$parent或者$refs访问父组件或者调用子组件方法
这是项目中比较常用粗暴的手段,用一段伪代码感受下就行,不太建议项目里用 this.$parent 操作
<template>
  <div class="todo-list">
    <h1>todo list-event-bus</h1>
    <Search ref="search" />
    <content :dataList="dataList" />
  </div>
</template>
<script>
  import Search from './Search.vue';
  import Content from './Content.vue';

  export default {
    name: 'todo-list',
    components: { Search, Content },
    data() {
      return {
        dataList: [
          {
            title: 'vuejs',
            subTitle: 'vuejs is crazy'
          },
          {
            title: 'reactjs',
            subTitle: 'reactjs is beautify'
          }
        ]
      };
    },
    mounted() {
      // 能直接调用子组件的数据或者方法
      console.log(this.$refs.search.value);
    }
  };
</script>
在Search.vue组件中也能调用父组件的方法
<template>
  <div class="search">
    <a-row type="flex" justify="center">
      <a-col :span="4">
        <a-input placeholder="Basic usage" v-model="value" @pressEnter="handleAdd"></a-input>
      </a-col>
      <a-col :span="2">
        <a-button type="dashed" @click="handleAdd">添加</a-button>
      </a-col>
    </a-row>
  </div>
</template>

<script>
  export default {
    name: 'search',
    data() {
      return {
        value: '',
        odd: 0
      };
    },
    methods: {
      handleAdd() {
        // 访问父类的初始化数据
        console.log(this.$parent.dataList);
        const { value: title } = this;
        if (title === '') {
          return;
        }
        this.odd = !this.odd;
        this.$my_event.emit('handleAdd', { title, subTitle: `${title} is ${this.odd ? 'crazy' : 'beautify'}` });
      }
    }
  };
</script>
最后把这个todo list demo完整的完善了一下,点击路由可以切换不同todolist了 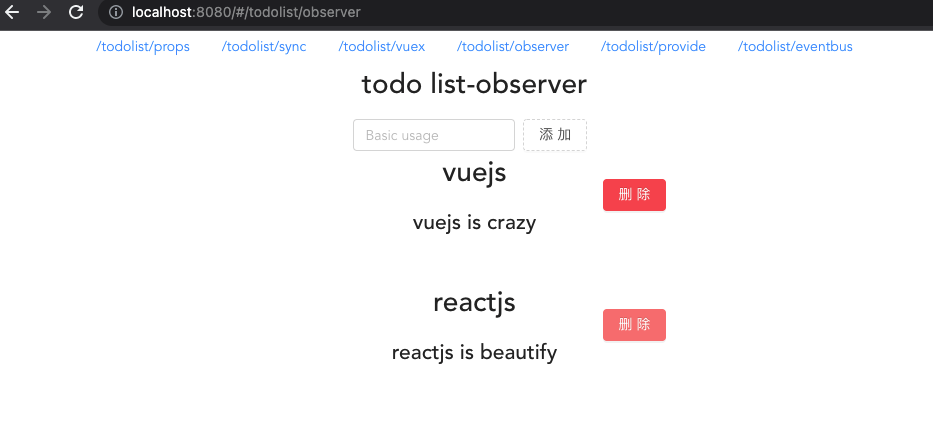
总结
1、用具体实例手撸一个todolist把所有vue中涵盖的通信方式props,自定义事件、vuex、vue.observable、provide/inject、eventBus实践了一遍
2、明白vuex的本质,实现Vue.observable跨组件通信
3、了解事件总线的实现方式,在vue中可以使用$emit与$on方式实现事件总线
4、本文代码示例:code example